This memo describes how to use SQL Server authentication in order to resolve access issues to the SQL Server.
Note that this method is not particularly secure within your local network, but it does not interface outside your local network.
The procedures described herein require the Microsoft SQL Server Management Studio (SSMS). The express version is available free of charge from Microsoft's website. Choose the version that's compatible with your SQL Server Express installation and your Windows operating system.
Once you have SSMS installed, open it and establish a connection:
You should be able to connect to the instance that was installed earlier. A default would look like:

Click on Connect.
If HORTICOPIA Professional was previously run, the database should already be attached. Expand the Databases to see if HortProData is attached If not, see if it can be attached:

Right-click on Databases and select Attach...
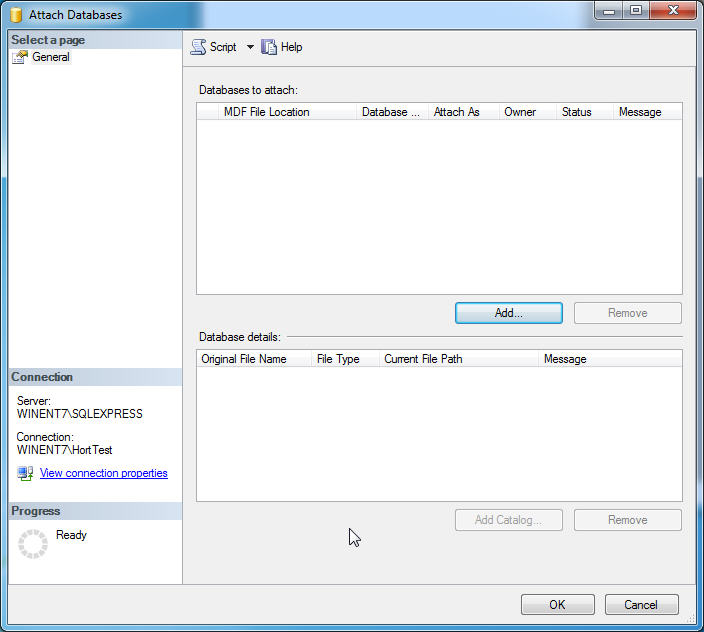
In the Attach window, click on Add...
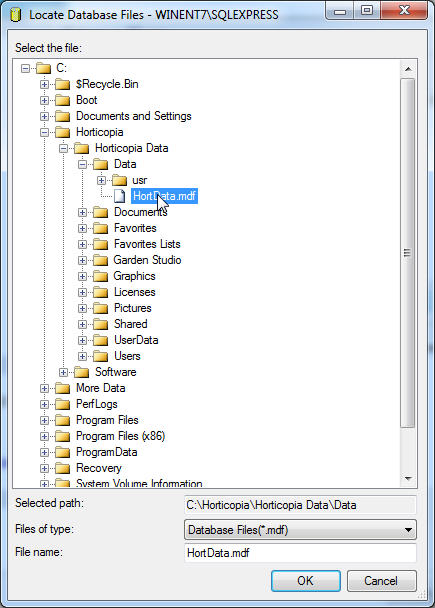
Locate the Horticopia Data folder and then the Data folder. If HortData.mdf is not displayed and you've checked that it exists, you need to change the security settings for the Horticopia Data folder to allow the SQL Server to access it.
If your SQL Server is not on the same computer as the HORTICOPIA Professional host computer, you'll be browsing to the HortData.mdf database on that computer. Copy the ...Horticopia Data\Data folder to the computer hosting the SQL Server and then browse to it.
Select HortData.mdf and then click on OK
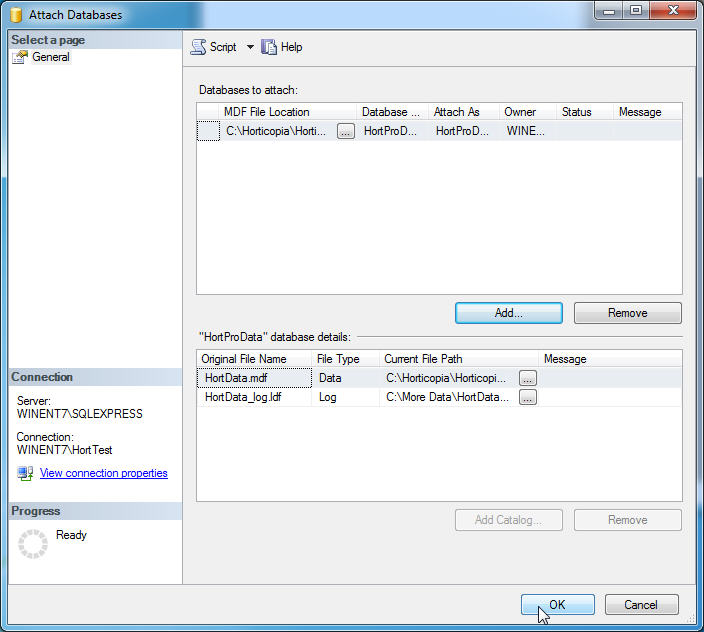
Click on Add... and then on OK.
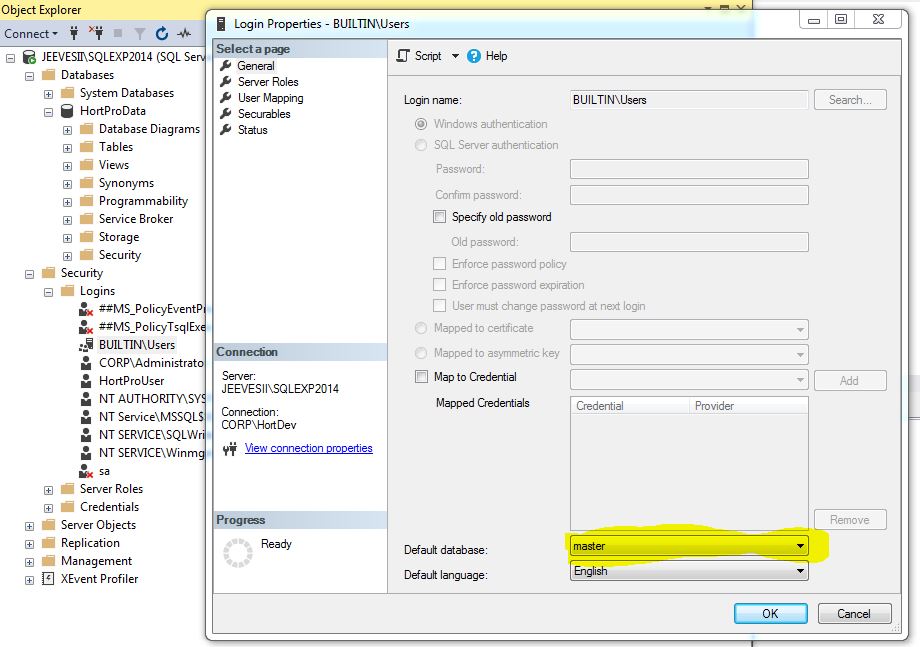
You should also make sure that the current privileges allow the HortProData database to be the default database.
Right-click on BUILTIN\Users or the user account you used to connect to the SQL Server and then select Properties. Change the default database to HortProData
At this point, you may detach the database. Under databases, right-click on HortProData and select Detach...
Expand Security and then right-click on Logins
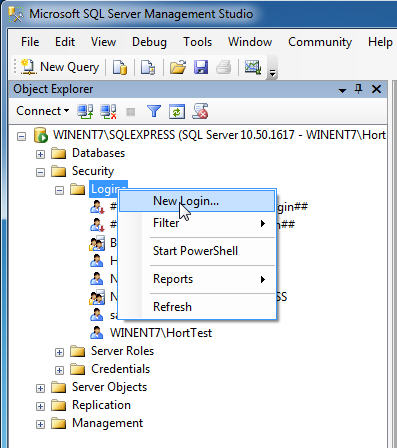
Select New Login...
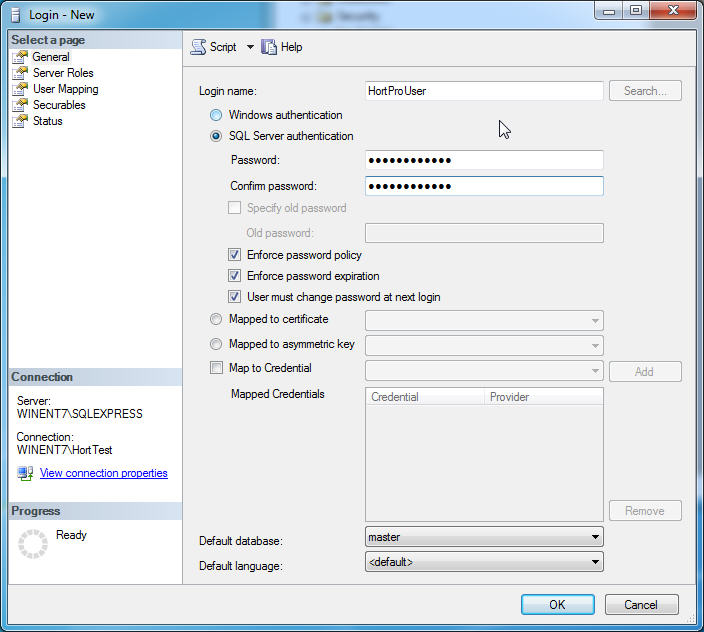
Enter a Login name. In our example, we'll use HortProUser.
Select SQL Server Authentication
Enter a password. In our example, we'll use Gobbledegook
Uncheck Enforce password expiration
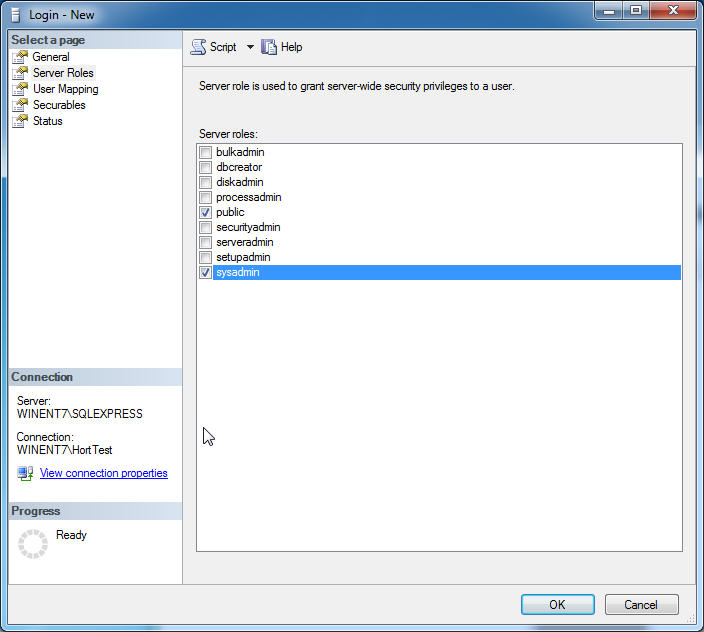
After clicking OK, click on Securables and check sysadmin
Click on OK
Right-Click on the SQL Server name in the Object Explorer (WINENT7\SQLEXPRESS in this example) and select Properties in the pop-up window.
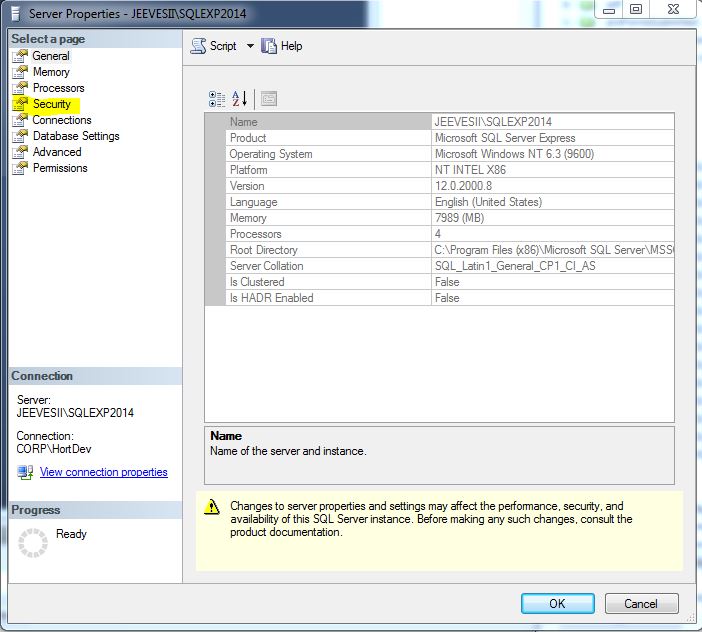
In the Properties window, click on Security
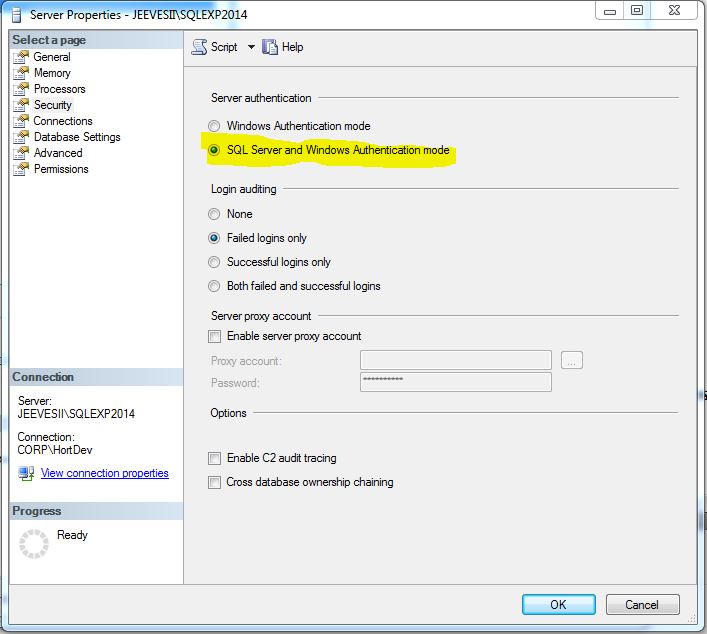
In the Security window, select SQL Server and Windows Authentication
Click on OK
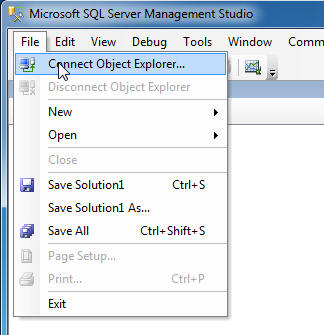
From the File menu, select Disconnect Object Explorer...
You'll need to restart the SQL Service for the changes to tak effect. Restarting is as described at the end of Initial SQL Server Configuration
Now, open the Horticopia Control Panel (Start, All Programs, Horticopia Pro V, Horticopia Control Panel).
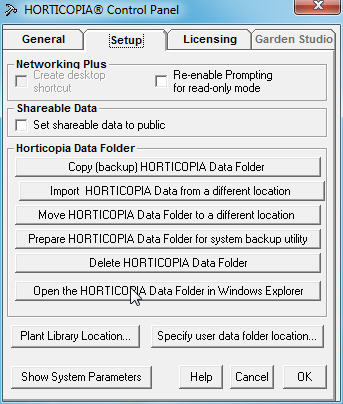
Click on the Setup tab and then Open the HORTICOPIA Data Folder in Windows Explorer
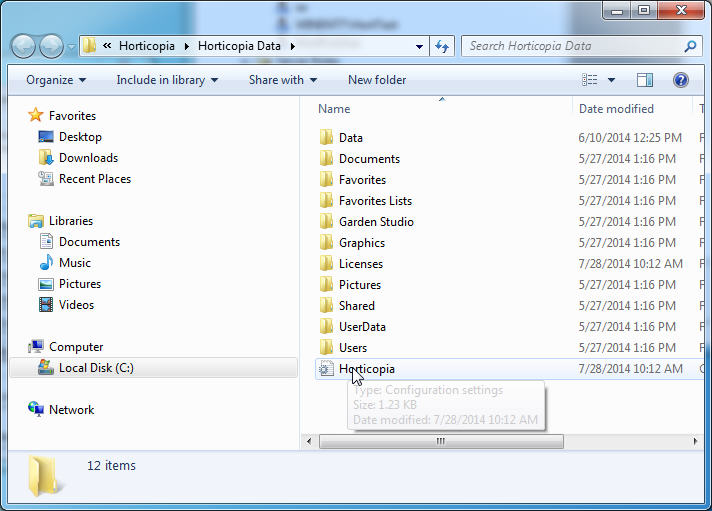
Double-click on the Horticopia (Horticopia.ini) file
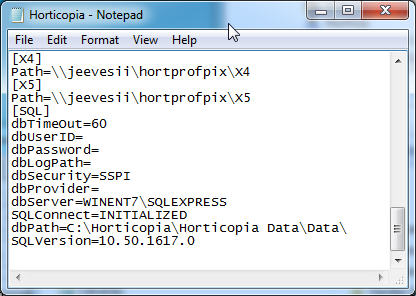
Locate the [SQL] section and make the following modifications:
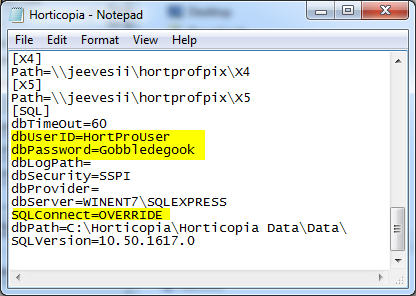
Save the Horticopia.ini file
At this point, you can close SSMS, Horticopia Control Panel, etc. Make sure HORTICOPIA Professional runs on the server before trying to execute on the client workstations.